
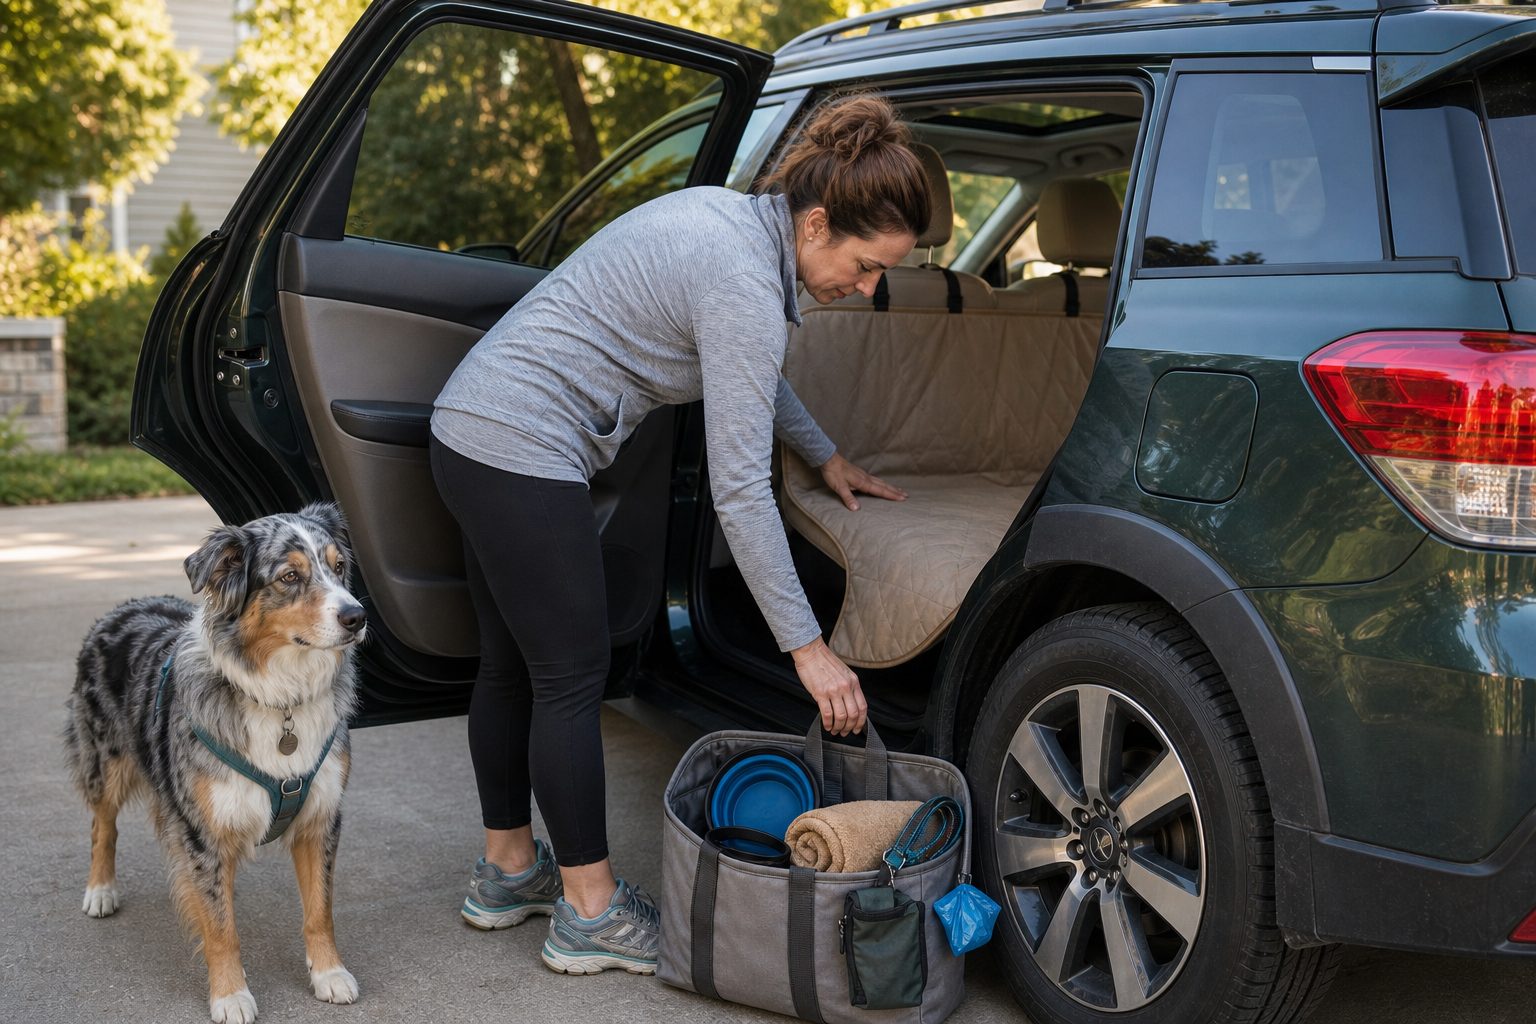
You do not need to rebuild the whole car before every dog road trip. You do need a short reset that catches the small problems before the dog is already loaded and everyone is ready to leave.
This is a 20-minute setup routine for the back seat or second row. It is not a product list. It is the check I would use when the car is half-packed, the dog is excited, and the trip is close enough that nobody wants to read a full gear guide.
If you are still deciding which car gear belongs in the setup at all, start with the broader dog car travel gear guide. This page is for the final pass before a real drive.
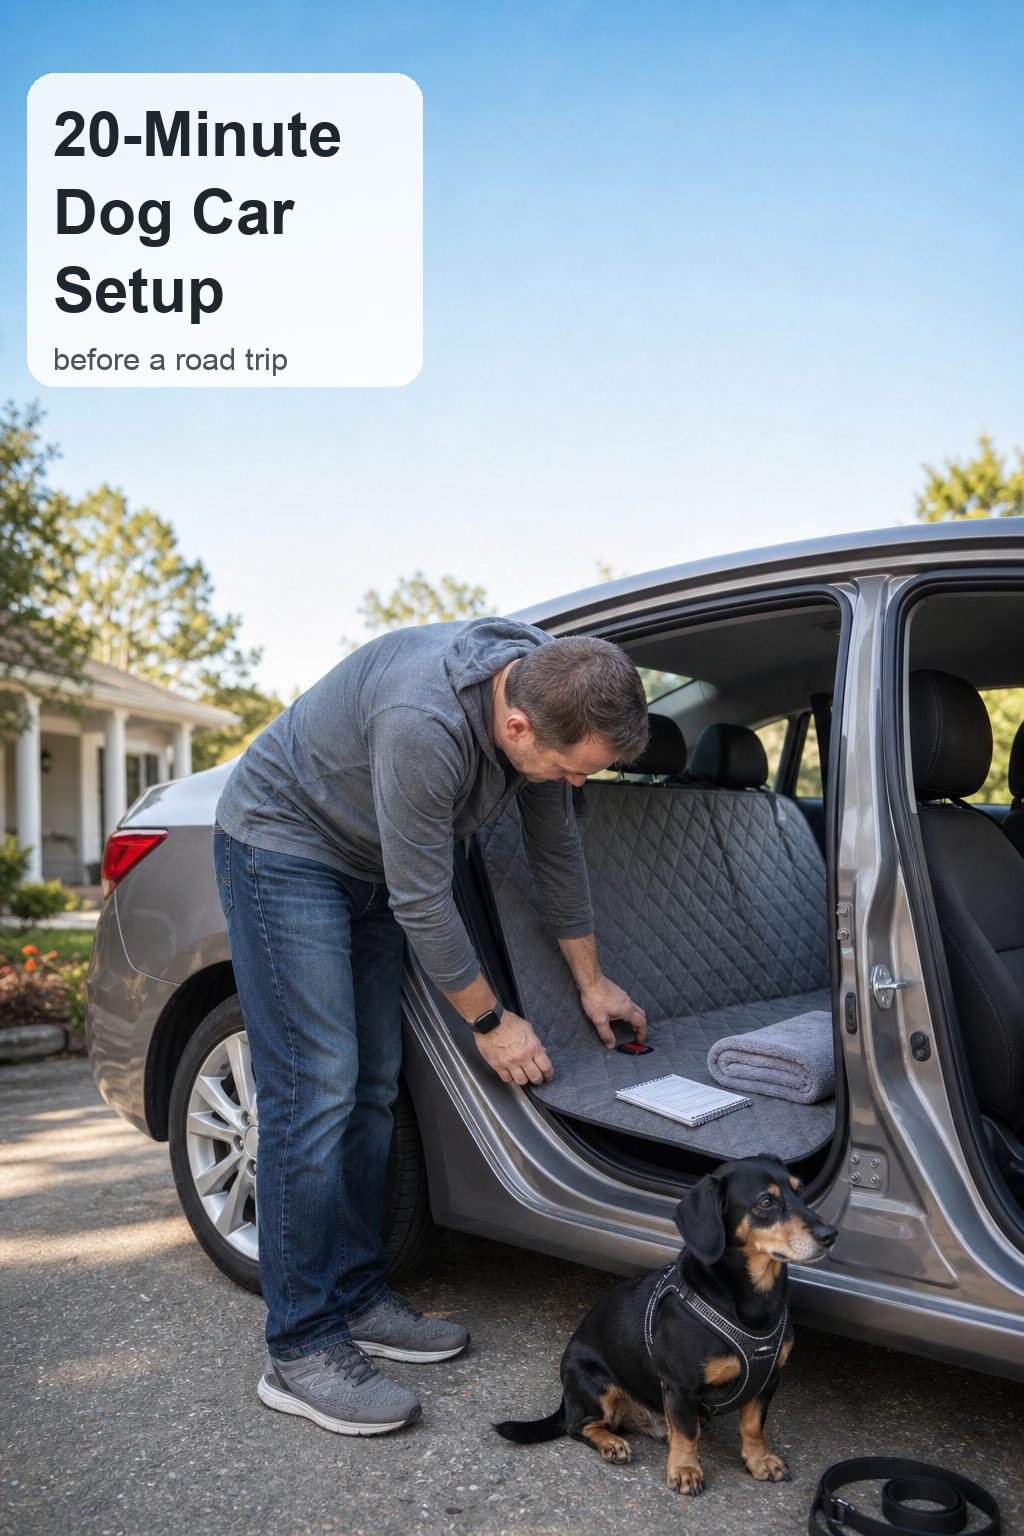
Minute 0-2: Open the Door and Look at the Space Cold
Open the rear door before you bring the dog over. Look at the seat like a person who has never seen your car before.
Is the dog’s riding area obvious, or has the back seat quietly become storage? Can the dog step in without landing on a backpack strap, loose bowl, grocery bag, or charger cable? Can you reach the buckle or tether point without digging under fabric?
This first look is useful because it is honest. Once the dog is standing beside you, you will start making compromises. You will tell yourself the bag can stay there, the towel can be moved later, or the buckle is “probably fine.” Fix it before that.
The riding zone should be clear enough that the dog can get in, turn, and settle without stepping on hard gear.
Minute 2-5: Decide the Riding Zone Out Loud
Pick one riding zone and stick with it for this trip.
For a small dog, that may mean a secured carrier on one side of the rear seat. For a larger dog, it may mean the full bench with a cover and harness tether. For a family car, it may mean the dog gets one side and a passenger gets the other. The setup gets messy when the dog is allowed to drift across whatever space is left.
Say the plan plainly:
- “The dog rides on the passenger-side rear seat.”
- “The dog rides across the full rear bench.”
- “The dog rides in the carrier, not loose on the cover.”
- “The dog rides in the cargo crate, and the back seat stays for bags.”
That sounds almost too simple, but it prevents the most common packing mistake: loading human gear first and giving the dog the leftover space.
If the back seat is the main travel space, the older guide on how to set up the back seat for a dog road trip goes deeper. This 20-minute version is the quick departure check.
Minute 5-8: Flatten the Cover and Find the Buckle
Now deal with the seat cover, hammock, or bench liner.
Pull it flat. Check the headrest straps. Smooth the area where the dog will lie down. Then find the seat belt buckle receiver or tether attachment path you plan to use.
A cover that looks tidy but hides the buckle is not ready for a road trip. If you use a harness tether, the tether should reach the harness without twisting through a pile of fabric. If a person may sit beside the dog, their belt also needs to remain usable.
This is where many back seat setups fail. The cover protects the upholstery, but it makes the working parts of the seat harder to use.
If buckle access keeps giving you trouble, compare your setup with the guide to dog car seat covers with seat belt access. If you are choosing between a hammock and a bench cover, the hammock vs bench seat cover comparison will save some guessing.
Minute 8-12: Move Hard Gear Out of the Dog’s Zone
This is the part people skip because the car looks “almost packed.”
Move hard items away from the dog’s riding area: water bottles, food bins, camera bags, shoes, camp tools, hard coolers, and anything with corners. Soft towels or a small blanket can share space if they do not crowd the dog. Rigid gear belongs on the floor, in the cargo area, or in a tote where it cannot slide into the dog.
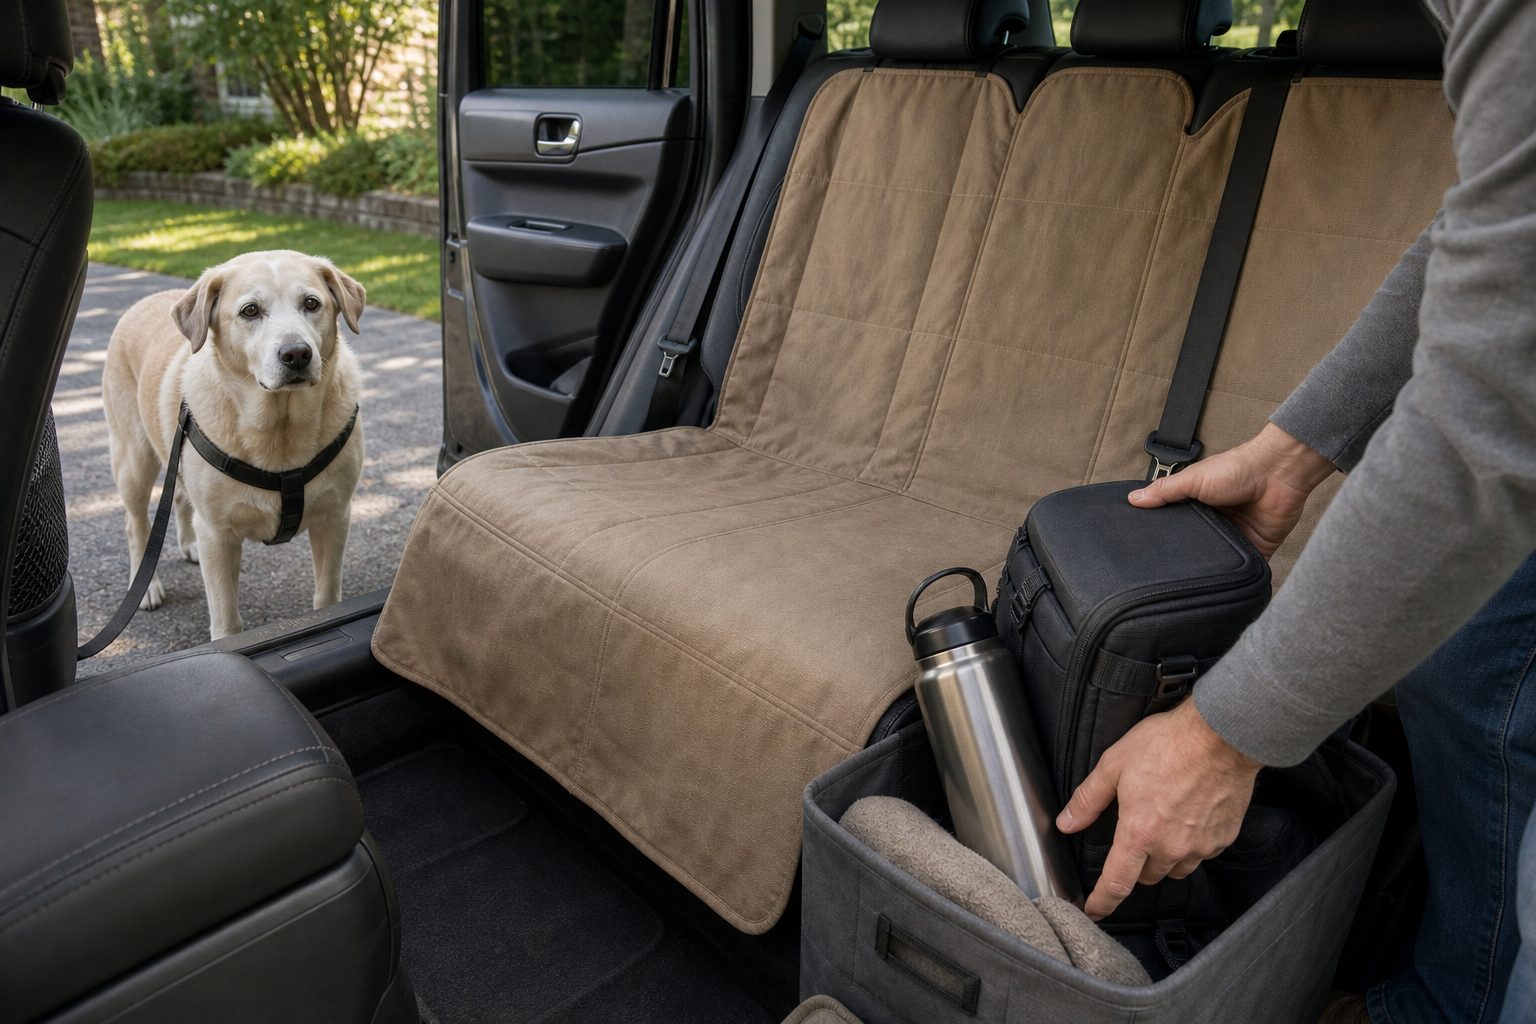
Do not count on your dog staying perfectly still. Dogs shift, brace, turn around, lie down, sit up, and reset their paws. The space should still work after that movement.
For large dogs, check the footwell too. If your dog keeps stepping into the gap or cannot lie down naturally, a dog back seat extender may be worth comparing before a longer trip. If the dog rides in the SUV cargo area instead, a cargo liner may make more sense than forcing the back seat setup to do everything.
Minute 12-15: Build the One-Hand Kit
The one-hand kit is the small set of items you can grab without unpacking the car.
Put these near the rear door or seat-back area:
- leash or backup leash
- waste bags
- towel
- wipes or small cleanup pouch
- water access
- collapsible bowl if you use one
The point is not to make a perfect organizer. The point is to avoid the parking-lot scramble where the dog needs water, the towel is under luggage, and the waste bags are in a different bag than yesterday.
If your dog gets messy at stops, pair this with a small dog road trip cleanup kit. If you are planning a long drive, the dog rest stop routine is the better page to read next.
Minute 15-17: Clip Before the Door Opens Wide
Before you invite the dog in, rehearse the door moment.
Where is the leash? Which hand opens the door? Where will the dog stand while you clip the harness or tether? If someone else is helping, who has the leash and who handles bags?
This matters because most bad car moments happen during transitions. Not while the dog is calmly riding. It is the door opening at the rest stop, the leash getting caught under a tote, or the dog stepping out before you have your grip.
If you use a seat belt tether, it should attach to a harness, not a collar. Keep the length short enough to reduce roaming, but not so short that the dog cannot sit or lie down normally. The guide to dog seat belt tethers covers that fit check in more detail.
Minute 17-19: Do the Door Test
Load the dog or stand with the dog at the open door and do one slow test.
Can you open the rear door without the leash falling out? Can the dog step in without landing on gear? Can you reach the tether or carrier strap without leaning across the dog? Can the dog sit or turn without pushing the towel, pouch, or tote into the way?
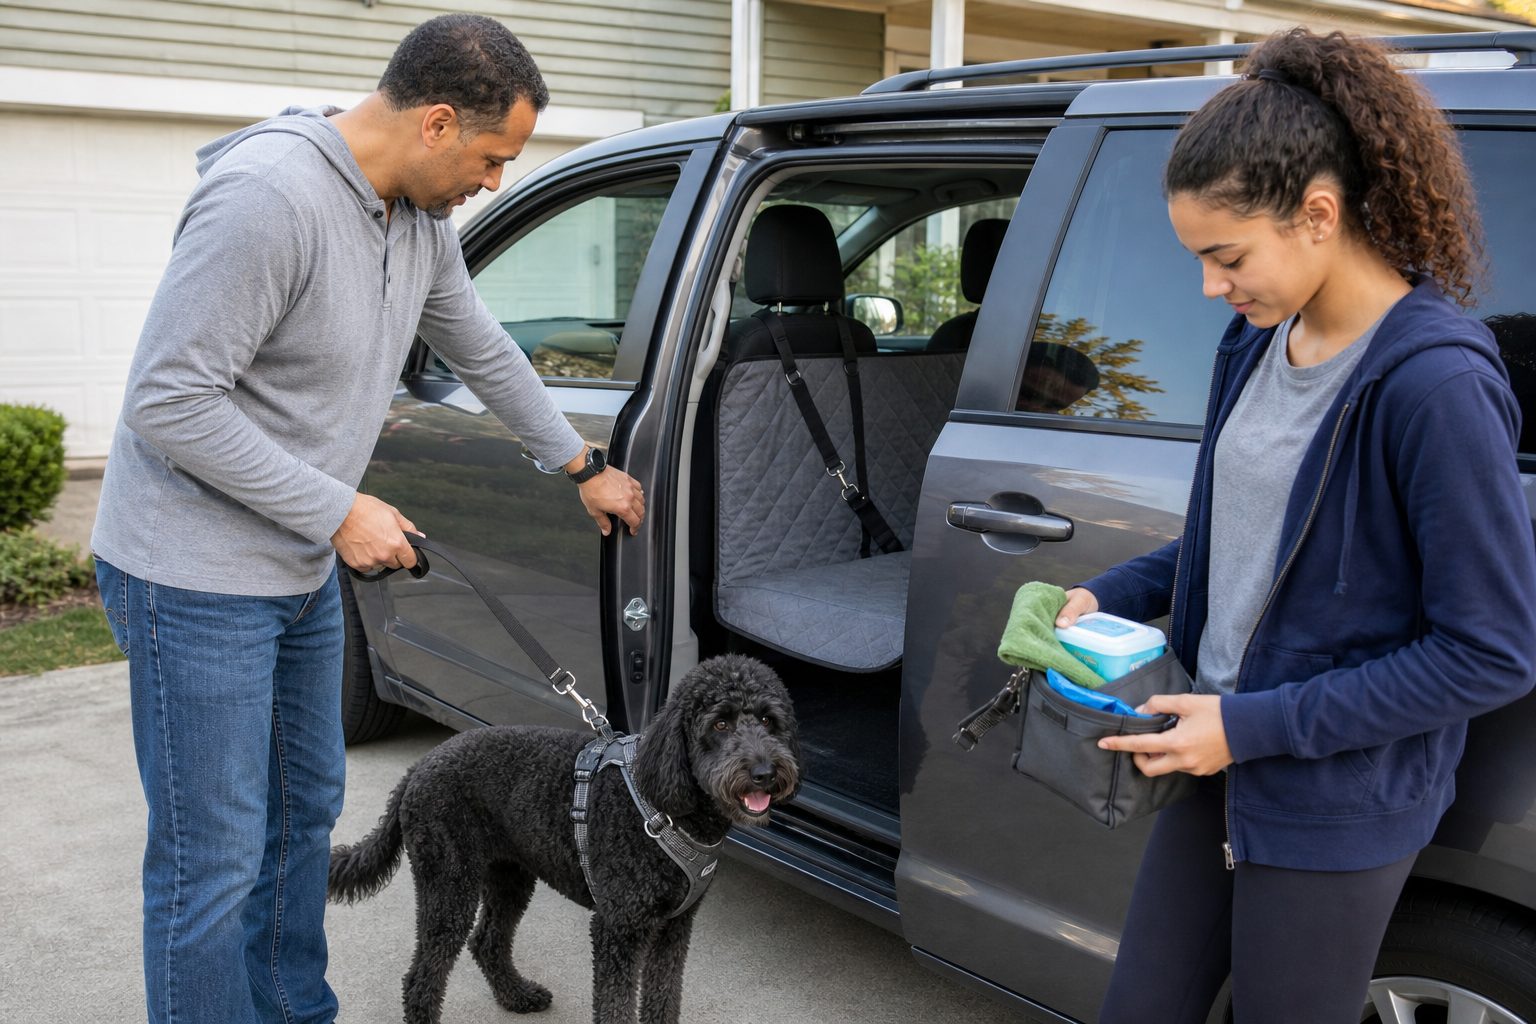
If the answer is no, fix the setup now. A small irritation in the driveway becomes much more irritating at a gas station, hotel entrance, or trailhead.
For anxious dogs, make this boring on purpose. Calm voice, same door, same leash order, same riding spot. The routine matters as much as the gear.
Minute 19-20: Say What This Setup Does Not Solve
This last minute is a reality check.
A back seat setup does not solve every travel problem. It does not make a loose dog safe. It does not replace a properly used harness, carrier, crate, or movement-control plan. It does not make a hot parked car safe. It does not fix a dog who panics in vehicles or gets carsick.
It also does not replace training. If your dog lunges out of doors, chews straps, fights the carrier, or cannot settle at all, treat the car setup as one part of the plan. You may need shorter practice drives, a different riding location, or advice from a qualified trainer or veterinarian for anxiety or motion sickness concerns.
The setup is still worth doing. It reduces clutter, makes the dog’s space clearer, and helps you catch avoidable mistakes before the trip begins.
If You Only Have Five Minutes
Do this shorter version:
1. Clear hard gear from the dog’s riding zone. 2. Check that the buckle or tether path is visible. 3. Put towel, waste bags, leash, and water within reach. 4. Clip the leash before opening the door wide. 5. Make sure the dog can sit or lie down without crowding.
That is enough to prevent most of the annoying problems.
Quick Adjustments by Dog Type
For a small dog, check the carrier first. A loose carrier on a clean seat is still a poor setup. Make sure the carrier placement follows the product instructions and does not slide when the car turns.
For a large dog, give up more human storage space than you think you need. A big dog on a narrow strip of seat will keep shifting, and that makes the whole car feel unsettled.
For a senior dog, think about footing and entry height. A towel that slides under the paws is not helpful. If your dog hesitates at the door or cargo area, review ramp options before the next long drive.
For a muddy dog, keep the towel at the door instead of in the trunk. You will use it more if you can reach it before the dog climbs in.
For an anxious dog, remove visual and physical chaos. Fewer bags, fewer loose items, and one predictable riding zone usually work better than adding more accessories.
The After-Trip Note
When you get home, take 30 seconds to notice what actually failed.
Was the towel in the wrong place? Did the dog step on the leash? Did the buckle disappear under the cover? Did the water bottle roll into the footwell? That note is more useful than buying another accessory right away.
Road-trip car setups improve through small corrections. The first version does not need to be perfect. It needs to be clear enough that your dog has a real place to ride and you can manage the next stop without digging through the whole car.